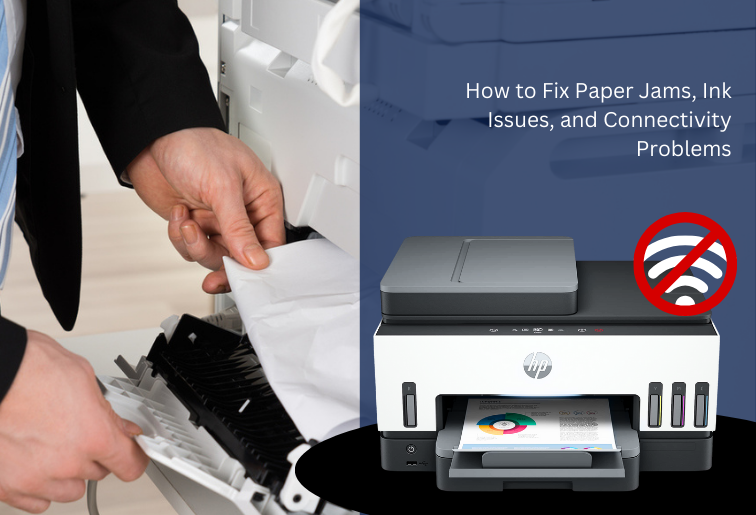
Printers are essential devices in homes and offices, but they often encounter problems like paper jams, ink issues, and connectivity problems. These common printer errors can disrupt your workflow, causing frustration and delays. This guide provides step-by-step solutions to help you fix printer paper jams, ink cartridge problems, and printer connectivity issues efficiently.
How to Fix Paper Jams in a Printer
One of the most frequent printer problems is a paper jam. A paper jam occurs when the paper gets stuck inside the printer, preventing it from printing correctly. Follow these steps to resolve the issue:
Step 1: Turn Off and Unplug the Printer
Before attempting to remove jammed paper, always turn off the printer and unplug it from the power source. This ensures safety and prevents damage to internal components.
Step 2: Open the Printer Cover
Most printers have a designated paper jam area. Open the printer cover or rear access panel to locate the stuck paper.
Step 3: Gently Remove the Jammed Paper
Slowly pull out the jammed paper in the direction of the paper feed. Avoid pulling too hard, as this may tear the paper and make removal more difficult.
Step 4: Check for Torn Paper Pieces
After removing the paper jam, inspect the printer for any small torn pieces of paper. Even tiny fragments can cause future jams.
Step 5: Reload the Paper Correctly
Use high-quality paper and ensure it is loaded properly in the paper tray. Avoid overfilling the tray, as this can cause feeding issues.
Step 6: Test Print a Page
Prevention Tips:
Turn the printer back on and print a test page to check if the issue is resolved.
- Use the correct paper size and type.
- Keep the printer clean and dust-free.
- Avoid using wrinkled or damaged paper.
How to Fix Printer Ink Issues
Ink problems can cause poor print quality, faded prints, or missing colors. These issues often arise due to clogged print heads, low ink levels, or incompatible ink cartridges.
Step 1: Check Ink Levels
Low ink levels can result in faded prints or missing colors. Check the ink level using the printer’s control panel or software.
Step 2: Replace or Refill Ink Cartridges
If the ink levels are low, replace or refill the ink cartridges with compatible, high-quality ink.
Step 3: Clean the Print Head
Clogged print heads can cause streaky or missing prints. Most printers have an automatic print head cleaning feature, which can be accessed through printer settings.
Step 4: Manually Clean the Print Head
For severe clogs, remove the ink cartridge and gently clean the print head with a lint-free cloth and distilled water.
Step 5: Align the Print Head
Misaligned print heads can cause blurry prints. Use the printer’s alignment function to adjust the print head.
Prevention Tips:
- Use the printer regularly to prevent ink from drying up.
- Store ink cartridges in a cool, dry place.
- Always use genuine or high-quality third-party ink.
How to Fix Printer Connectivity Problems
Printer connectivity issues can prevent the printer from communicating with your computer or network. These issues can occur due to Wi-Fi problems, outdated drivers, or incorrect settings.
Step 1: Restart the Printer and Computer
A simple restart can often resolve minor printer connection problems. Turn off the printer and computer, wait for a few seconds, then restart both devices.
Step 2: Check Wi-Fi or Cable Connection
For wireless printer issues, ensure the printer is connected to the correct Wi-Fi network. If using a wired connection, check that the USB or Ethernet cable is properly plugged in.
Step 3: Update Printer Drivers
Outdated or corrupted printer drivers can cause printer not responding issues. Visit the manufacturer’s website to download and install the latest drivers.
Step 4: Set the Printer as Default
Sometimes, the printer may not be set as the default printing device. Go to your computer’s settings and select your printer as the default option.
Step 5: Run Printer Troubleshooter
Windows and macOS have built-in troubleshooting tools that can detect and fix common printer connection errors. Run the printer troubleshooter from the system settings.
Step 6: Reset the Printer Network Settings
If your wireless printer is not connecting, reset the printer’s network settings and reconnect it to the Wi-Fi network.
Prevention Tips:
- Keep printer drivers updated.
- Ensure a stable internet connection for wireless printing.
- Avoid multiple devices trying to access the printer simultaneously.
Final Thoughts
Dealing with paper jams, ink issues, and printer connectivity problems can be frustrating, but these troubleshooting steps can help you fix them quickly. By following proper maintenance practices, using high-quality ink and paper, and keeping your printer software updated, you can minimize future printer errors. If problems persist, consult the printer’s user manual or contact the manufacturer’s support team for assistance.
With these solutions, you can keep your printer running smoothly and avoid unnecessary downtime. Happy printing! Visit our website: Printer Not Working for more!

