

Is your printer not printing, or does it show error messages? You’re not alone! Most printing issues are caused by outdated or corrupted drivers. The best thing? You can fix it quickly by following our simple guide on how to reinstall printer drivers.
How to Reinstall Printer Driver: Easy Steps
Follow the step-by-step guide below to reinstall your printer driver and get your printer working normally again.
Step 1: Uninstall Current Driver
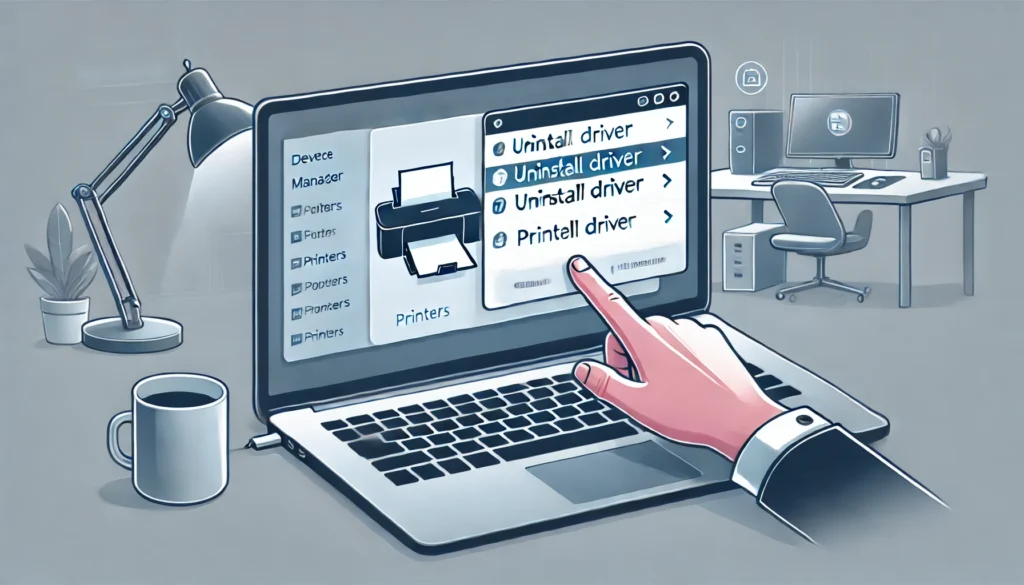
The primary first step when experiencing any type of printer driver malfunction that causes your printer not to respond is first uninstalling the currently installed driver.
Open Control Panel. Just click on “Start” and type “Control Panel” in the search tab displayed by that option chosen.
Now click on “Devices and Printers.”.
Uninstall printer: Right-click your printer, then “Remove device.” It removes the printer in your computer system; therefore, your printer would disassociate itself from your computer.
Uninstall the Printer Driver: Go to the Device Manager (you can access this by typing “Device Manager” into the search bar). Under “Printers,” locate your printer, right-click it, and choose “Uninstall.” Make sure to select the option that deletes the driver files to prevent them from causing future conflicts.
Step 2: Restart Your Computer
Once you’ve successfully uninstalled the printer driver, you will then need to restart your computer to allow all the remaining files and configurations from the old driver to be flushed out.
Step 3: Download the Newest Printer Driver
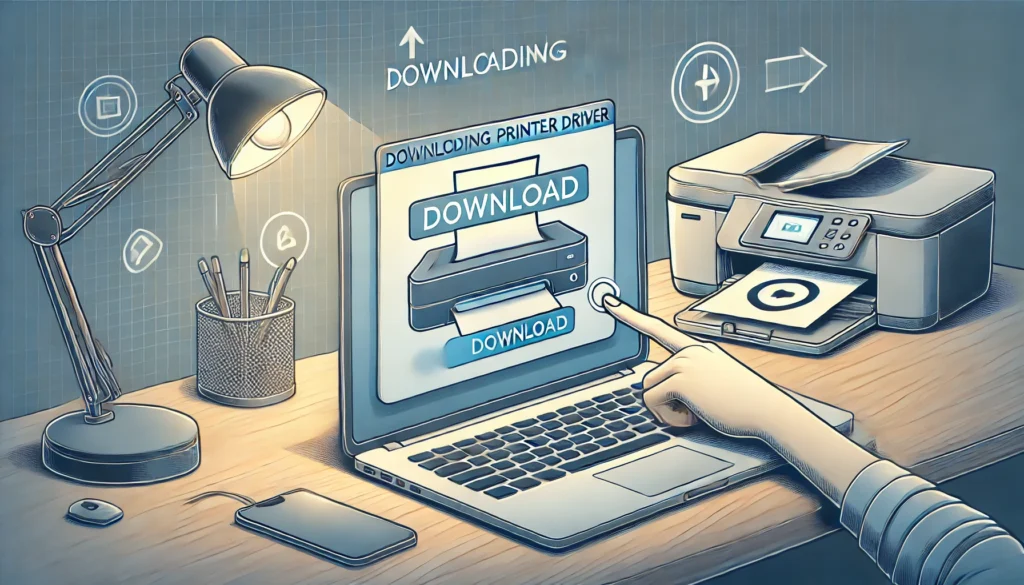
Open the website of the manufacturer of your printer: Open your web browser and access the manufacturer’s website for your printer-HP, Canon, Epson, etc.
- Identify the model of printer you have: You can perform a search of the website that will help match the driver suitable for your equipment using the number of your model
- Download printer driver: Ensure you download the latest variant that may smoothly work on your computer as well as your operating system. More individuals download the driver from the site of its manufacturers because you receive the variant with authenticity; besides, it gets updated constantly.
Step 4: Install a new driver for the newly downloaded printer
- Run the setup file: Run the driver’s installer file in the Downloads folder on your computer and install.
- Installation Prompts: The installer will take you through the installation. You may have to connect the printer if it is not connected during the installation process.
- Restart Computer Again: Now, you are all set and can restart your computer again.
Step 5: Testing Your Printer
Now, test your printer. Open “Devices and Printers,” right-click on your printer icon, then select “Printer Properties.” There you can quickly select “Print Test Page” and see if everything is working correctly.
Troubleshooting Persistent Driver Problems
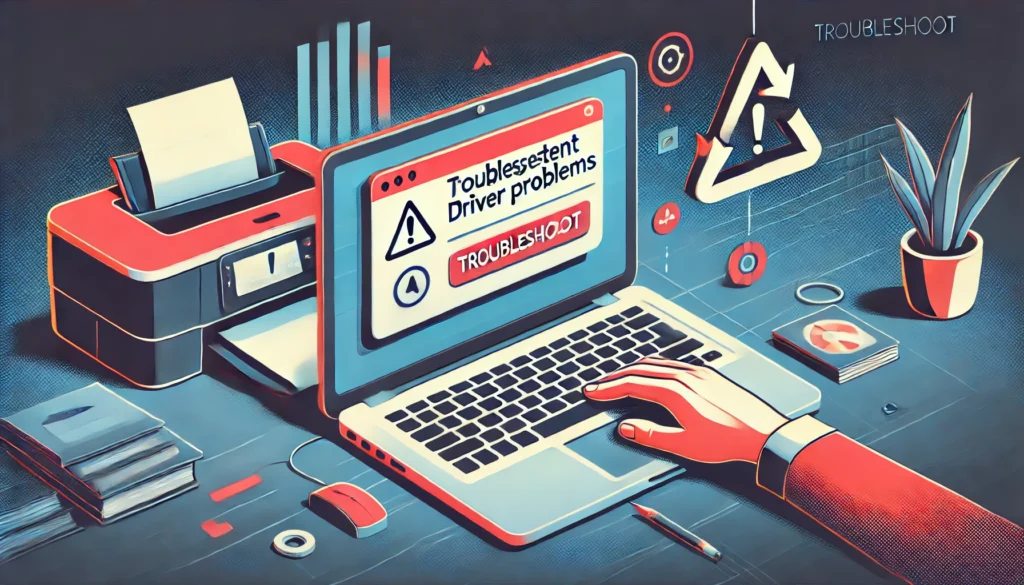
If reinstalling a printer driver doesn’t solve the problem, perhaps the following might be the answer:
- Check for Updates: The OS and the printer software must be updated completely. Sometimes, this conflicts with the old drivers.
- Run Printer Troubleshooter: In Windows, there is a built-in application called Printer Troubleshooter that can automatically detect and correct typical problems. It can be found under Settings > Update & Security > Troubleshoot > Printer.
- Check Printer Connection: Verify whether your computer is properly connected to your printer either through USB or wirelessly. Possibly, a bad connection might lead to the failure of printing.
Final Words
A fresh copy installation of the printer driver in the system indeed does have an effective correction using this driver error whenever your printer refuses to respond to you. Now that you’ve taken any of the above steps, get that printer of yours up and running as soon as possible, and if reinstalling has failed, then perhaps, at some deep level, problems such as hardware might also be in play, and handle it most effectively, possibly some sort of support desk from your manufacturer or technical expert might be involved as well.
For more troubleshooting tips and solutions for all your printing problems, visit PrinterNotWorking.