
Introduction
Changing the printer ink is not such a big issue, but the real issue is changing it in the right way so that it enhances your printer’s efficiency and quality of output. However big or small a matter it might seem, proper changing of any printer ink-be it inkjet or laser- helps extend your printer’s life span, saving you plenty down the line. We will provide you with some key tips regarding printer ink installation in this blog and help you replace the cartridges easily.
1. Selecting the Right Ink Cartridge
It is also a must to identify the right ink cartridge to be used on the machine prior to the process. A wrong ink for the printer may result in bad print quality or damage to your printer. So make sure to read through the manual and check the website of the manufacturer for the ink cartridge suitable to your model printer.
2. Power Off Your Printer
Before you start replacing printer ink, make sure your printer is turned off. This reduces the chances of damaging any parts when you are handling the ink cartridges. If your printer has a cartridge holder that moves during printing, turning it off ensures that it is in a safe position to remove the cartridges.
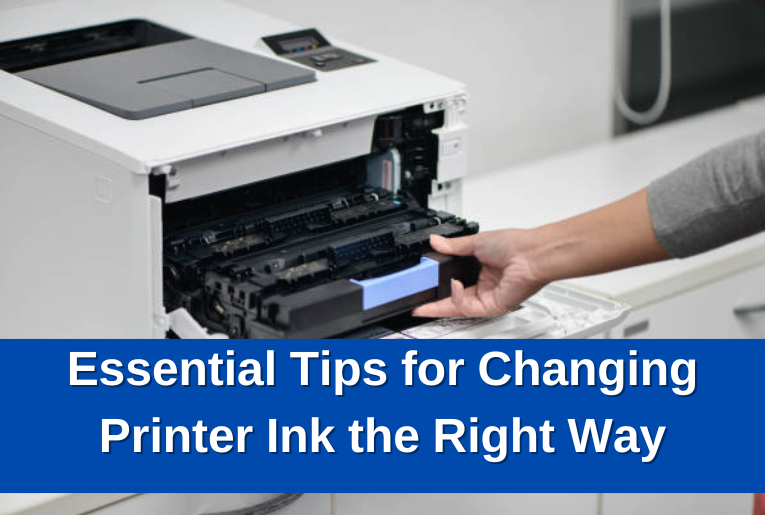
3. Remove the Old Ink Cartridge Gently
Once your printer is powered off, carefully open the printer cover. The ink cartridges should be easily accessible. Gently lift or press the release mechanism to remove the old cartridge. Be careful not to touch the ink nozzles or contacts, as oils from your skin can interfere with print quality. Dispose of the used cartridge properly.
4. Prepare the New Ink Cartridge
Remove the new ink cartridge from the package before putting it into your printer. The majority of the ink cartridges contain a plastic strip or tape with which they seal before installation, thereby preventing any leakage of the ink. Therefore, remove that tape before placing the cartridge inside the printer, and also do not touch the copper contacts or ink nozzles for optimal performance.
5. Put the New Ink Cartridge
Carefully insert the new ink cartridge into the correct slot in the printer. It should click into place without force. Ensure that the cartridge is properly installed and that it aligns correctly with the printer. If it’s not seated correctly, it could cause printing problems or even damage the cartridge.
6. Test Print
After installing the new cartridge, plug the printer back in and perform a test print. This is to ensure that the new ink cartridge is correctly installed and that the printer can recognize it. Most printers are equipped with an inbuilt ink level check function and printhead alignment. Running a test print will also check for proper ink distribution.
7. Monitor Ink Levels Regularly
It’s good to check out for ink shortage or run out of ink in the middle of printing so that you don’t stop working. Some printers actually have an on-board feature that warns the user when the ink is running low. Ink level may also be checked from within the computer or mobile application provided with your printer. This way, before the ink runs dry, you will be well prepared and be able to replace your cartridges, thereby avoiding any breaks.
Summary
Knowing how to change printer ink the right way is very essential for ensuring that your printer keeps on operating well. The tips on installing printer ink can avoid common problems like leakage of ink, errors of the printer, and low-quality prints. So, be gentle with your printer cartridges and ensure you have the right ink for your printer model to get the best.
If you encounter problems changing printer ink or other printer problems, then please visit Printer Not Working for more helpful tips and solutions.