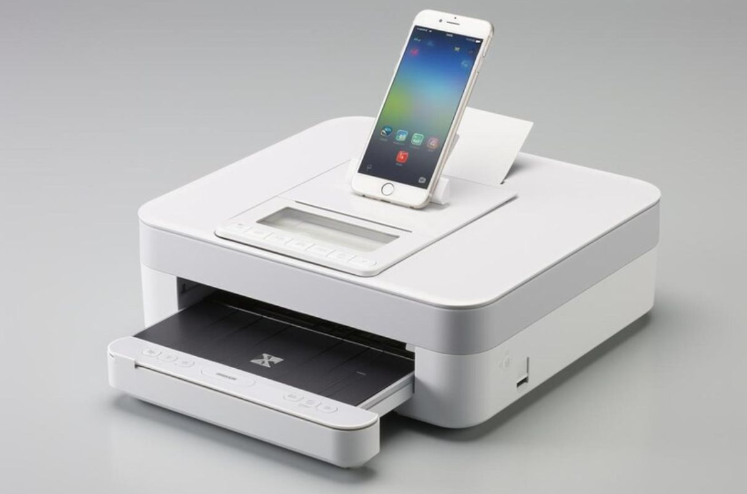
Wireless printing from the iPhone is a part of our technologically sound life today. Office files, photographs, or study material can be easily printed without taking much time and effort. The following step-by-step instructions will guide you on how to connect the printer to your iPhone.
Why Make Your Printer Compatible with Your iPhone?
The following are some advantages of making your printer compatible with your iPhone:
- Convenience: Convenience of printing directly without passing through the computer.
- Flexibility: Ability to control your printer anywhere within Wi-Fi range.
- Efficiency: Ease of printing vital documents on the go.
How to connect a Printer to an iPhone

Step 1: Check Printer Compatibility
Before starting, ensure your printer supports Apple’s AirPrint technology. Most modern printers from brands like HP, Canon, and Epson are AirPrint-compatible. Check your printer manual or the manufacturer’s website for confirmation.
Step 2: Connect Your Printer to Wi-Fi

To connect your printer to your iPhone, both devices need to be on the same Wi-Fi network:
- Power Up Your Printer: Turn on the printer and ensure it’s in setup mode.
- Access Wi-Fi Settings: Navigate to the printer’s control panel and select “Wi-Fi Setup.”
- Choose Your Network: Select your Wi-Fi network and enter the password if prompted.
- Confirm Connection: Look for an indicator (light or message) confirming that your printer is now connected to Wi-Fi.
Step 3: Add the Printer to Your iPhone
Once the printer is connected to Wi-Fi:
- Open a file (e.g., in Photos, Notes, or Safari).
- Tap the Share Icon (a square with an upward arrow).
- Select Print from the list of options.
- Your iPhone will search for available printers. Select your printer from the list.
- Adjust settings like the number of copies or pages, and tap Print to start printing.
Step 4: Troubleshooting Connection Issues

If you encounter problems, try these solutions:
1. Ensure the Devices Are on the Same Network
Make sure both your iPhone and printer are connected to the same Wi-Fi network. Avoid using guest or public networks.
2. Restart Devices
Turn off your iPhone, printer, and router. Wait a minute, then turn them back on. Retry the connection process.
3. Update Software and Firmware
- Printer: Visit the manufacturer’s website for firmware updates.
- iPhone: Go to Settings > General > Software Update and install the latest iOS version.
4. Reset Network Settings on Your iPhone
- Go to Settings > General > Transfer or Reset iPhone > Reset.
- Select Reset Network Settings and reconnect to your Wi-Fi.
5. Use Printer-Specific Apps
Download the printer’s official app (e.g., HP Smart, Canon PRINT) for additional support and features.
Alternative Printing Methods
If your printer doesn’t support AirPrint, consider these options:
- Third-Party Apps: Install apps like Printer Pro or PrintCentral to connect non-AirPrint printers to your iPhone.
- USB Connection via PC/Mac: Use a USB cable to connect your printer to a computer and send documents from your iPhone using file-sharing apps.
- Cloud Printing Services: Some printers support Google Cloud Print or similar services, allowing remote printing from your iPhone.
Tips for Seamless Printing
- Keep your devices updated to avoid compatibility issues.
- Regularly clean your printer and replace ink or toner as needed.
- Save frequently printed files in organized folders for quick access.
When to Seek Professional Assistance
If none of the above solutions work, contact your printer’s customer support or visit a service center for expert help.
Final Words
Connecting your printer to your iPhone is a simple and convenient process with AirPrint technology. With this guide, you can enjoy hassle-free printing, whether for personal or professional use. For more helpful tech guides and troubleshooting tips, visit our blog today!
For more information or to book a consultation visit: Printer Not Working

