
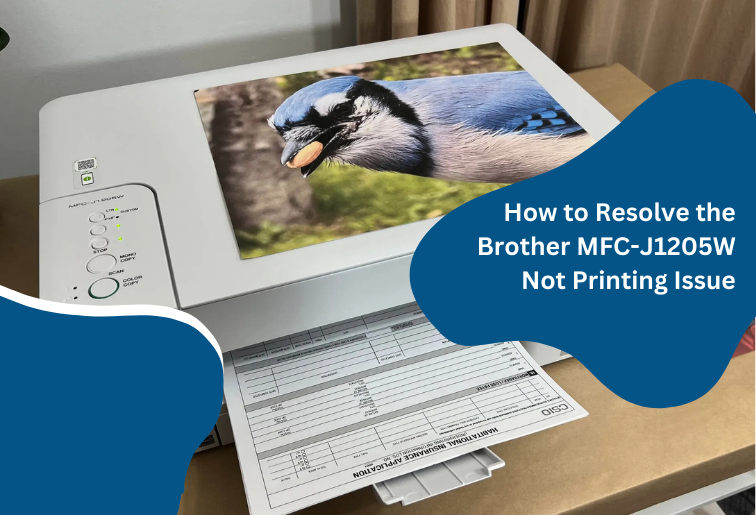
This Brother reliable printer is versatile, and easy to use, but sometimes erratically as the other devices can be. The most common complaint is that Brother MFC-J1205W refuses to print. However, there might be different reasons for such a phenomenon to occur, starting from the wrong settings of the printer itself, printer connection issues, and maybe some software issues that become infuriating. In any case, the fix is found by fairly simple troubleshooting and often easy through a few steps.
Troubleshooting Brother MFC-J1205W won’t print
Step 1: Finding the connectivity of the printer
Before something happens, the printer and device need to be connected to the printer and then to the network where it will stay. This might kill the printing ability in a flash through a dead connection or loose wire for the Brother MFC-J1205W printer.
Check for a USB cable: If it is USB, then first check whether your USB cable is connecting your computer and printer well. Or if nothing good can be found, then change a USB port or cable.
Check that the Wi-Fi connection is fine: If one must use Wi-Fi, make sure that both the computer and mobile device are using the same Wi-Fi network as that printer, and most have the control panel to set up so it is using the right one in the print queue.
Unplug your Brother MFC-J1205W printer, then unplug your computer, and once done, unplug them all back in again. Your system may just need a minute or two to sort things out.
Step 2: Printer Status
Brother MFC-J1205W refuses to print from time to time because the printer defaulted to some type of “offline” status or even pause mode. To ensure your printer is active or in an online state with printing enabled, use the following instructions.
Control Panel > Devices and Printers
RIGHT CLICK on the Brother printer. It should be offline or paused.
Do this, select See what’s printing, and then Cancel All Documents. Right-click on your Brother MFC-J1205W and select Set as Default Printer.
Mac System Preferences>Printers & Scanners: Select Brother printer and uncheck the box adjacent to it if marked as default offline printer as well. Open Print Queue & delete pending print jobs.
Step 3: Paper Jam Check
The most popular reason that your Brother MFC-J1205W won’t print is a paper jam in the printer. Normally, there are error messages or lights that indicate a paper jam in your printer. How to do this is by following the following steps:
Open the printer and pull out each piece of jammed paper inside.
Carefully pull out the jammed paper from your printer.
Look for paper that are sticking at the back, and try testing it to see if after removing the paper jam, the printer is good by printing again correctly at this point in trying to eliminate the wont print problem for this Brother MFC-J1205W.
Step 4: Check Ink or Toner Level
Another reason why Brother MFC-J1205W won’t print is because of low ink levels or when there’s an empty ink cartridge. How to do it
Check the ink level either from the printer’s display screen or through your computer’s printer software
Change the low- or out-of-ink cartridges to a new one
Replace all ink cartridges and print again if it is just a paper jam.
Step 5-Update or Reinstall Printer Drivers
The issue may be an outdated Brother printer driver on your computer, preventing the printer from printing.
Here is how to go about updating & reinstalling printer drivers:
Update Drivers: First, it is necessary to go to Brother’s website; insert the driver update for Brother MFC-J1205W, and start downloading all your updates.
You may try a reinstall by first removing printers if the above does not work.
Windows: Open Control Panel > Devices and Printers. RIGHT-click your Brother printer, then click Remove Device. Then reinstall from the Brother site with drivers installed.
Mac: Open System Preferences > Printers & Scanners and select your printer. Click – to remove. Add it back by clicking the + button. Then follow up with the further steps for adding the printer
Step 6: Reset Printer
If all above doesn’t work, then finally we will have no other option but factory reset on Brother MFC-J1205W. Hopefully that will restore the problem due to the print driver configuration or the way some pieces of your print software are organized.
Reset the printer: Find this in your user guide most likely or just check the websites of the producers for your product. In the present case, on the brother page, the brother model should appear.
Reconnect Printer: Reconnect your printer to your network and install any drivers that might be needed after the reset.
Step 7: Issues with your Printer Queue
Print jobs may be printing in the printer queue so other jobs won’t print. Here is how you may overcome that:
Windows
Open Control Panel > Devices and Printers > See what’s printing and right-click on your Brother printer.
Cancel all print jobs in the queue and retry to print
Mac
System Preferences > Printers & Scanners
Open and click your Brother printer, followed by selecting the option of opening Print Queue.
Cancel all queued jobs; attempt to print again on another paper
Final Words
In case Brother MFC-J1205W won’t print, the most likely would be that some possible causes, which you are capable of attempting to troubleshoot for fixing, can be established in your printer. Checking connection status, ink level, and the status of all drivers is so easy to guide one to the causes of what brings about the trouble. In any event, most probably the issue would be resolved. If it does not, the customer support representative of Brother may be contacted.